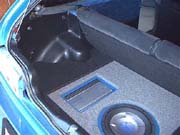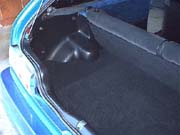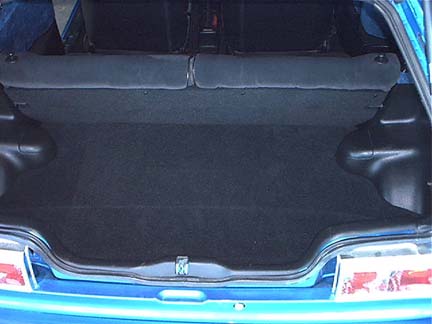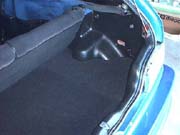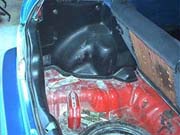
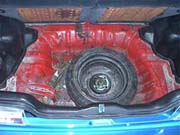
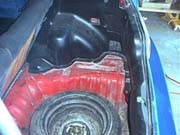
The empty trunk with the spare tire shown
before installation. The spare tire has been turned over to provide a
cavity which the box will extend into. This allows the box to take less
vertical space than if the entire magnet structure of the subwoofer was
above the spare tire.

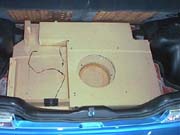
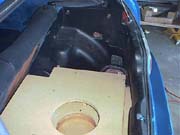
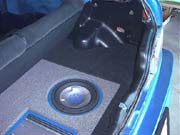
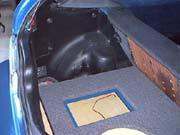
Shown here is the box without the amp
or sub installed. On the left side is the amp area with a fan that will
blow air across the amp from the bottom, venting the hot air out the top.
The amp area is purposefully oversized, rather than fit exactly for the
amp currently being installed. This allows the possibilty of changing
the amp in the future without the necessity of redesigning/rebuilding
the entire structure. The depth of the box is extended into the spare
tire, allowing the spare to remain accessible as well as keeping the entire
project lower to the floor of the vehicle to retain some trunk usability.
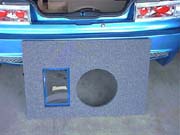
This is the main trim panel. The acrylic
window over the amp is mounted to the backside of this panel, while the
polycarbonate trim for the subwoofer is mounted on the box itself. Both
pieces of plastic were backsprayed blue to match the graphics on the amp
and subwoofer, along with the car itself.
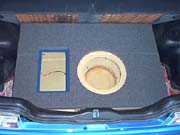
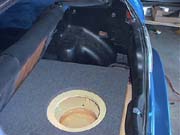
Here is the main trim panel on the box
without the equipment installed.
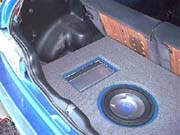
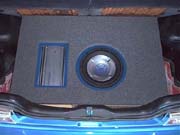
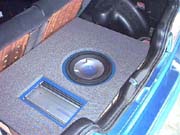
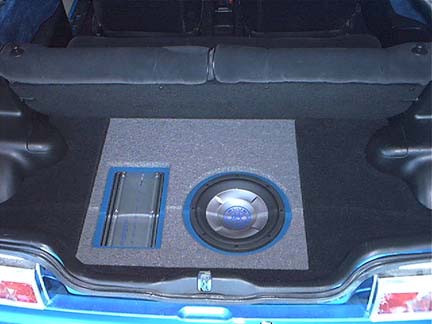
The equipment in place with the main
trim panel mounted above. The trim panel is screwed down to the box creating
one solid unit. This unit is not mounted down to the car, with the seat
folded back the entire box is held very tightly in place. The wiring is
purposefully routed out the top of the rack, thus no electrical disconnection
is necessary when accessing the spare. Access to the spare is possible
without any tools, by simple folding the seats forward and lifting the
box/amprack up.
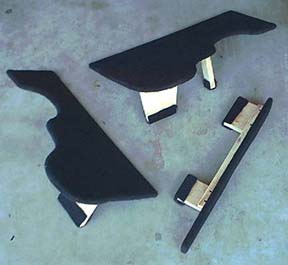
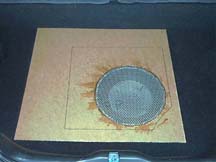
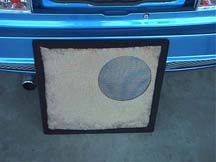
The 'wings' on the left will fill in
the gaps around the box/amp rack. they overlap the box, covering the screws
holding the main trim panel down, so no fasteners are visible when everything
is put together. These also are precisely fitted, and snap snuggly in
place without any special tools or fasteners. The grill panel is shown
in the vehicle before upholstery and outside the vehicle, from the bottom,
after upholstery. The grill panel is made of 1/4" hardboard with
a metal mesh panel flush with the top surface. When in place, the bass
energy easily penetrates this combination allowing both system concealment
and trunk usablilty.
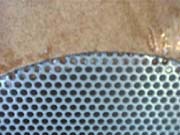


The grill panel was notched with a router
so the metal would sit flush with the top surface. The metal grill was
then glued in place with special industrial adhesive that remains slightly
flexible to eliminate the chance for rattles to develop as the structure
ages.
